After the car was disassembled, the work of going through each and every panel and component can begin. To get a really good understanding the status of the body panels, the body was taken outside for soda blasting. The more we blasted the more the extent of the body rust became more evident. At this time I was seriously considering just buying a donor car. However the guys at MMC wanted me to wait until they did an assessment on how much of the sheet metal could be cut and patched with new metal.
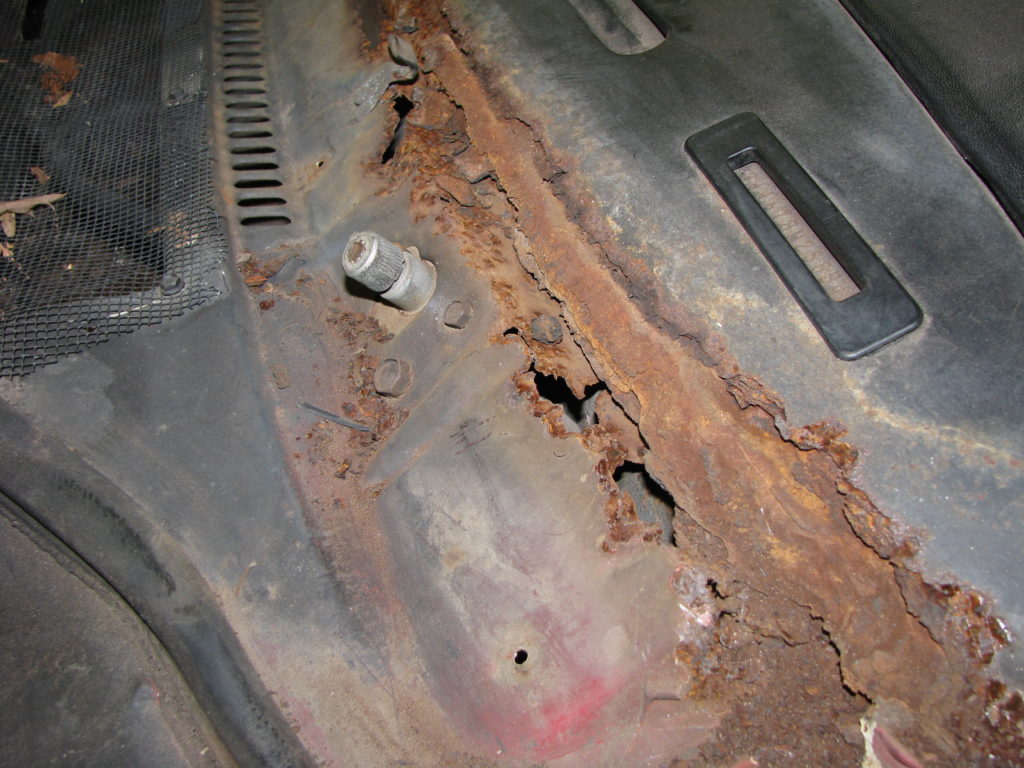
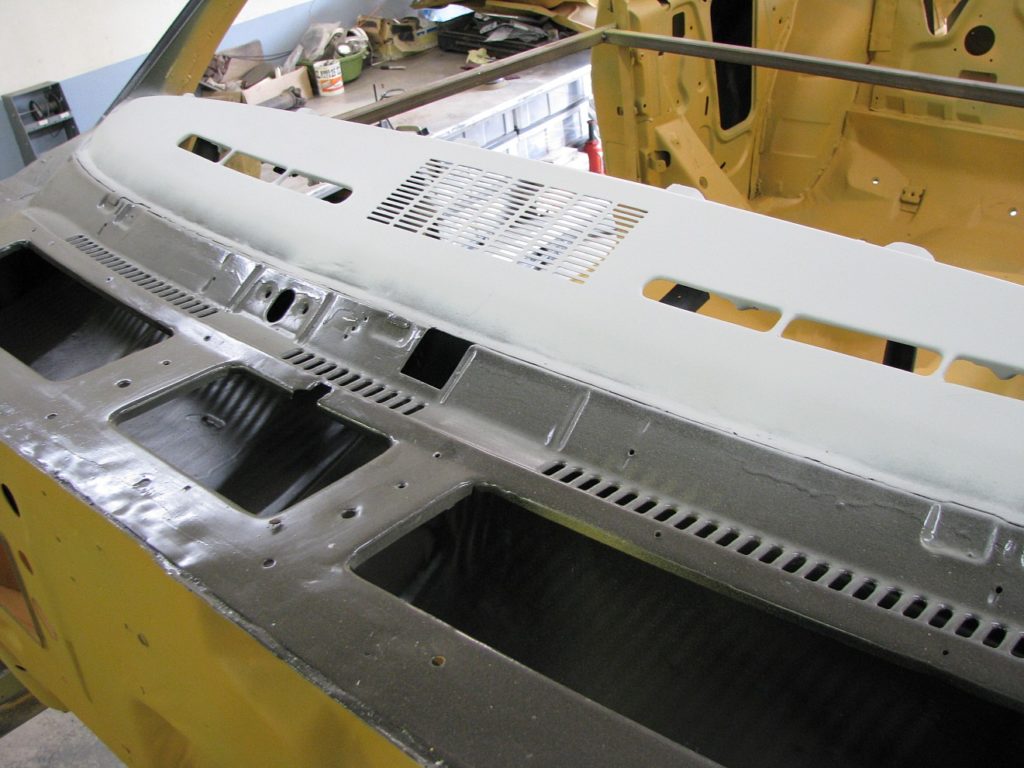
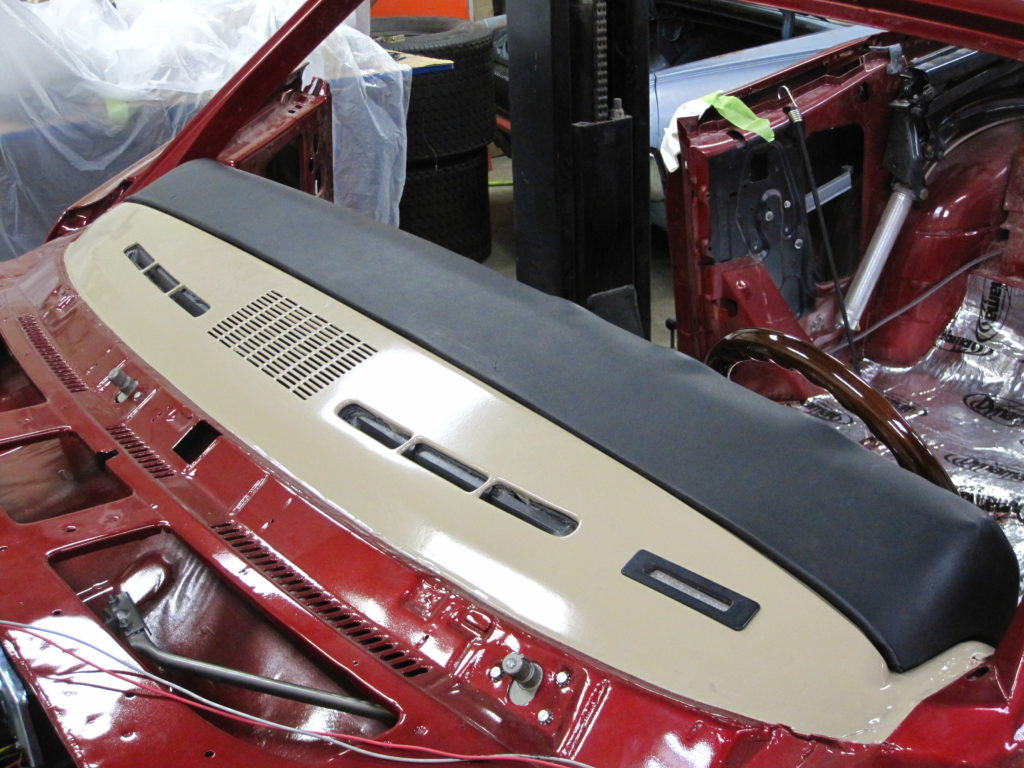
With the above picture, the only way to salvage the Cowl was to cut through the entire Cowl and build a new cowl section from scratch and weld that back in. Below is the newly fabricated Cowl, and man does it look much better!
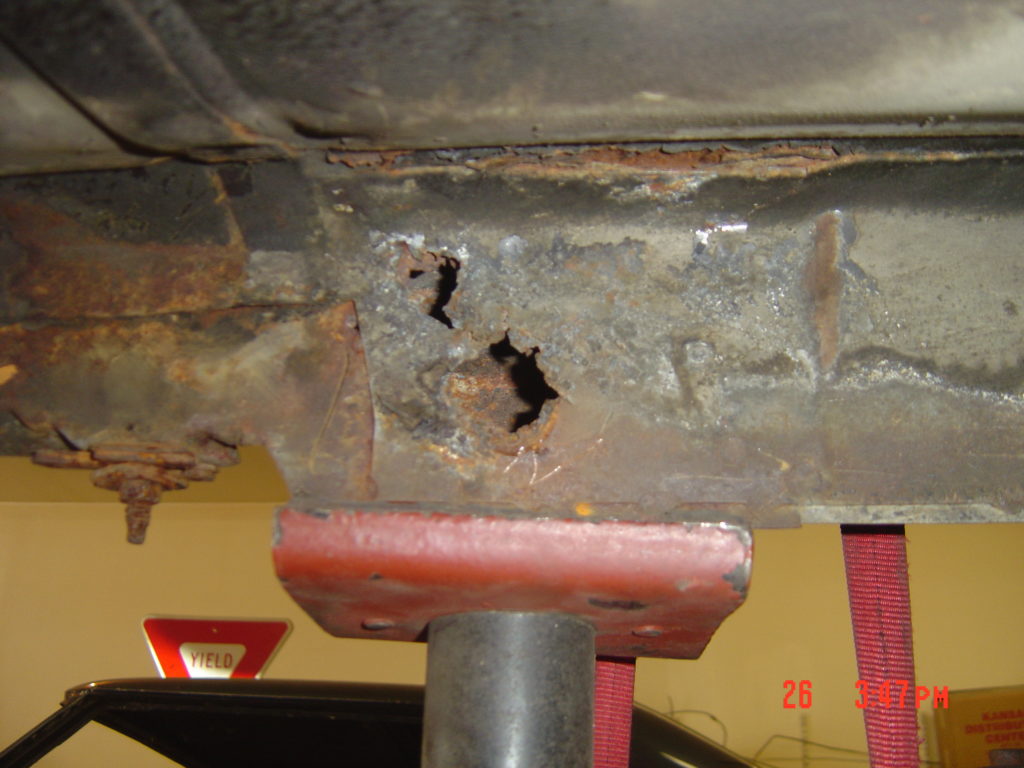
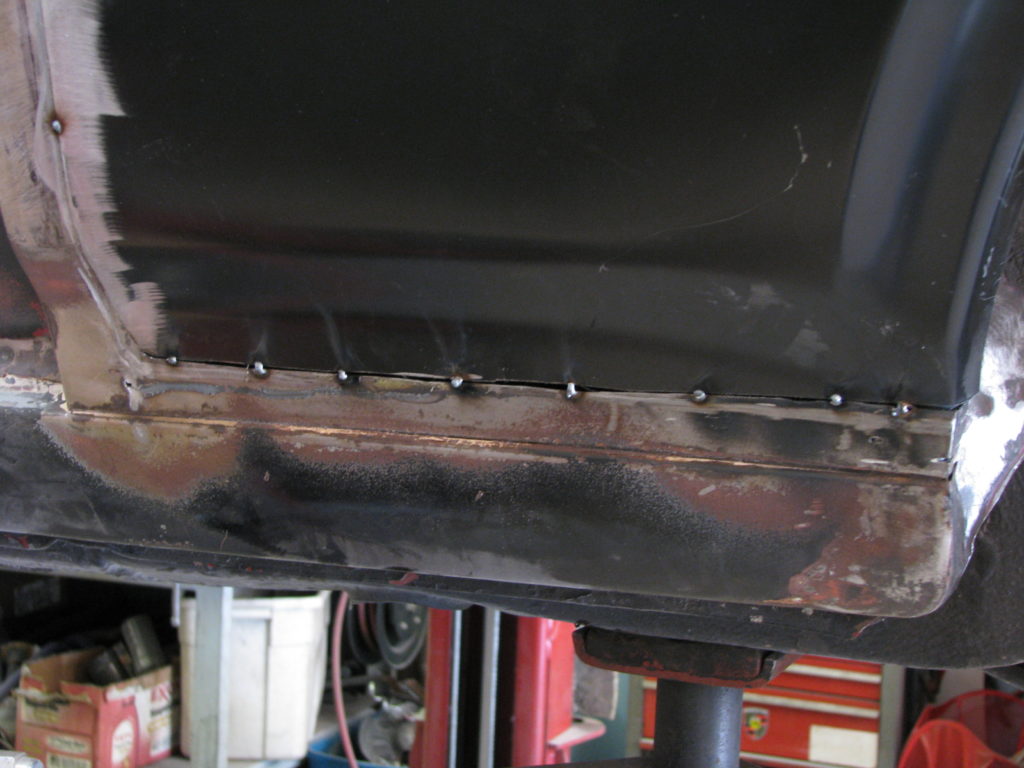
Here is an area being repaired after being eaten alive by rust:
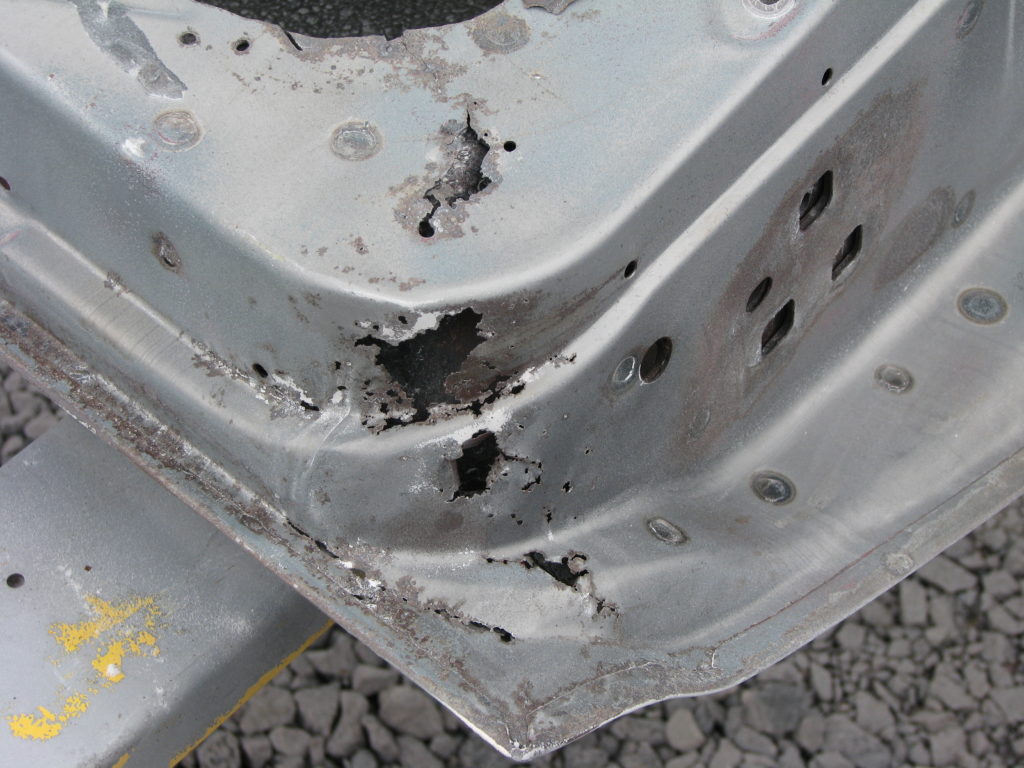
Below, you will see that once the doors were soda blasted, the seams were rusted out and therefore the only choice we had was to get new doors. Unfortunately, ’68 doors for the convertible are impossible to find. After weeks of searching we decided the only alternative was to get a pair of ’69 doors. With all the research that we did the ’69 doors should have been a straightforward replacement, it turned out not to be the case. There was a lot of modifications that had to be done in order for the doors to fit and align properly with the body. The last year for vent windows on the Olds 4-4-2 was 1968 and so getting vent windows to fit properly on the 1969 doors was a challenge.
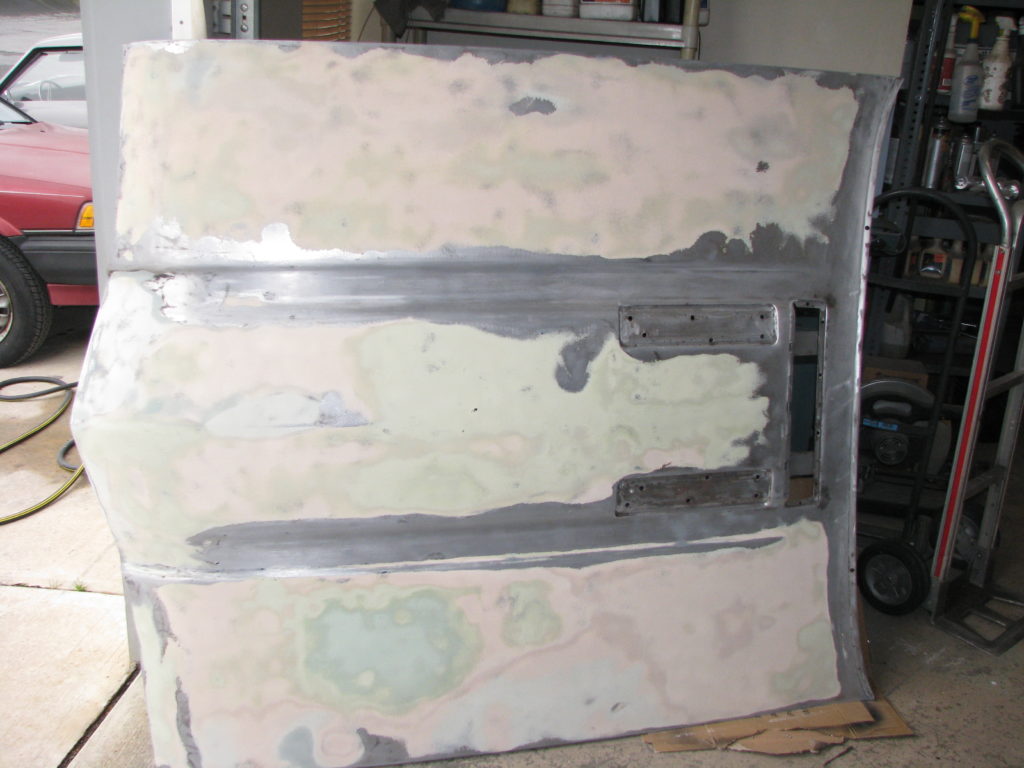
There were lots of issues with the hood as well. It seems that at some point the hood was damaged and then repaired using a lot of bondo. The hood was just not symmetrical and with visible warping. The unfortunate event is that we after the car was painted the first time the hood just did not look great, there were other paint issues that I will discuss in a later blog. I made the decision to go ahead and get a hood as well. This was the hardest thing to source. Most ’68 hoods that are up for sale have issues and that is why they are being sold. It took three months to find a hood that was in decent enough shape and we finally purchased it. Below is the original hood after soda blasting.
